
Chainway Scanner User Guide
IN THIS ARTICLE
Unboxing and Powering On
Connecting to the Internet
Logging into the SaffireTix App
Connecting to a Card Reader
Connecting to a Printer
Charging and Battery Maintenance
General Maintenance
Using Chainways you Have Purchased
RELATED ARTICLES
Chainway Troubleshooting Guide
Dynaflex II Go User Guide
SaffireTix App User Guide
Scanning Guide
Selling Guide

The Chainway C66 Scanner is a versatile handheld mobile computer, ideal for ticket sales and scanning at events. This guide will walk you through setting up the device and maintaining your device for optimal performance.

Unboxing and Powering On
- Unbox your Chainway and confirm that all components are present:
- Chainway device
- Battery (installed)
- Scanner trigger handle
- Trigger handle battery
- USB A to USB C charging cable
- USB A charging block
- SIM card (pre-installed)
- Battery docking stations, if applicable
- Extra batteries (upon request)
- To power on, press and hold the power button located on the side of the device until the screen lights up.
- Wait for the device to boot up, then proceed to set up the device if necessary.
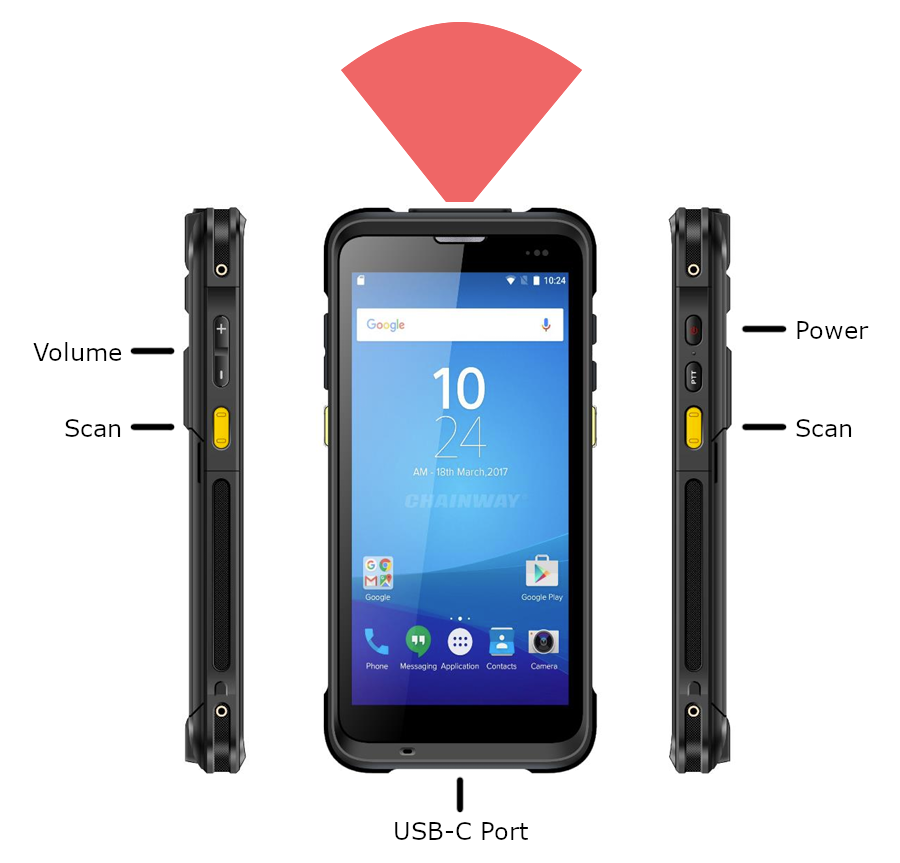
Chainway devices are typically sent out pre-attached to trigger handles
- Scanner batteries can be removed and swapped for fresh batteries
- Triggers can hold a battery to help keep the device charged

Connecting to the Internet
To use the SaffireTix app for ticket sales and scanning, you must connect the device to a Wi-Fi network or a cellular data network.
Connecting to Wi-Fi
- Swipe on the device screen from right to left, and open the Settings app.
- Select Wi-Fi Settings, make sure Wi-Fi is turned on, and select the desired network from the list.
- Enter the network password (if applicable) and tap OK. Once connected, the Wi-Fi symbol will appear in the status bar.
Connecting to Mobile Data
Chainway scanners are sent to your event with a Multi-Carrier SIM card loaded into them. Multi-Carrier SIM cards (A.K.A Multi-SIMs or Smart-SIMs) are designed to work no matter what the 'best' connection in an area is, however, they do not do this by automatically switching to the strongest connection. If they did this, the phone would be bouncing back and forth between carriers all the time, causing the connection to drop repeatedly as it switched between carriers.
Instead, the SIM cards are designed to only change carriers if the current connection becomes too weak. Our Multi-SIM devices are set to prefer (in order) T-Mobile, AT&T, then Verizon, so all of our devices will automatically connect to T-Mobile on arrival at your event. If your area has a poor T-Mobile connection, it should automatically switch to AT&T, then if that connection is still poor, it should switch to Verizon.
If this automatic switching does not seem to be working on your devices, please contact Saffire Support via the orange Help button at the bottom of your screen.
For further help connecting to mobile data, visit our Connecting to Mobile Data article.
Logging into the SaffireTix App
The SaffireTix app allows you to both sell and scan tickets at events using your Chainway handheld scanner. We provide two ways for you to log in to the SaffireTix app:
- Spark email and password
- Enter your Spark username and password on the app login screen to scan/sell from your account.
- Event URL and PIN (with QR code option)
- Enter your event URL and your user Device Login Pin Code. See instructions to set/find your device login pin code on the Mobile App User Management page.
- QR Code login option
-
To log in with a QR code, select the PIN option on the login screen.
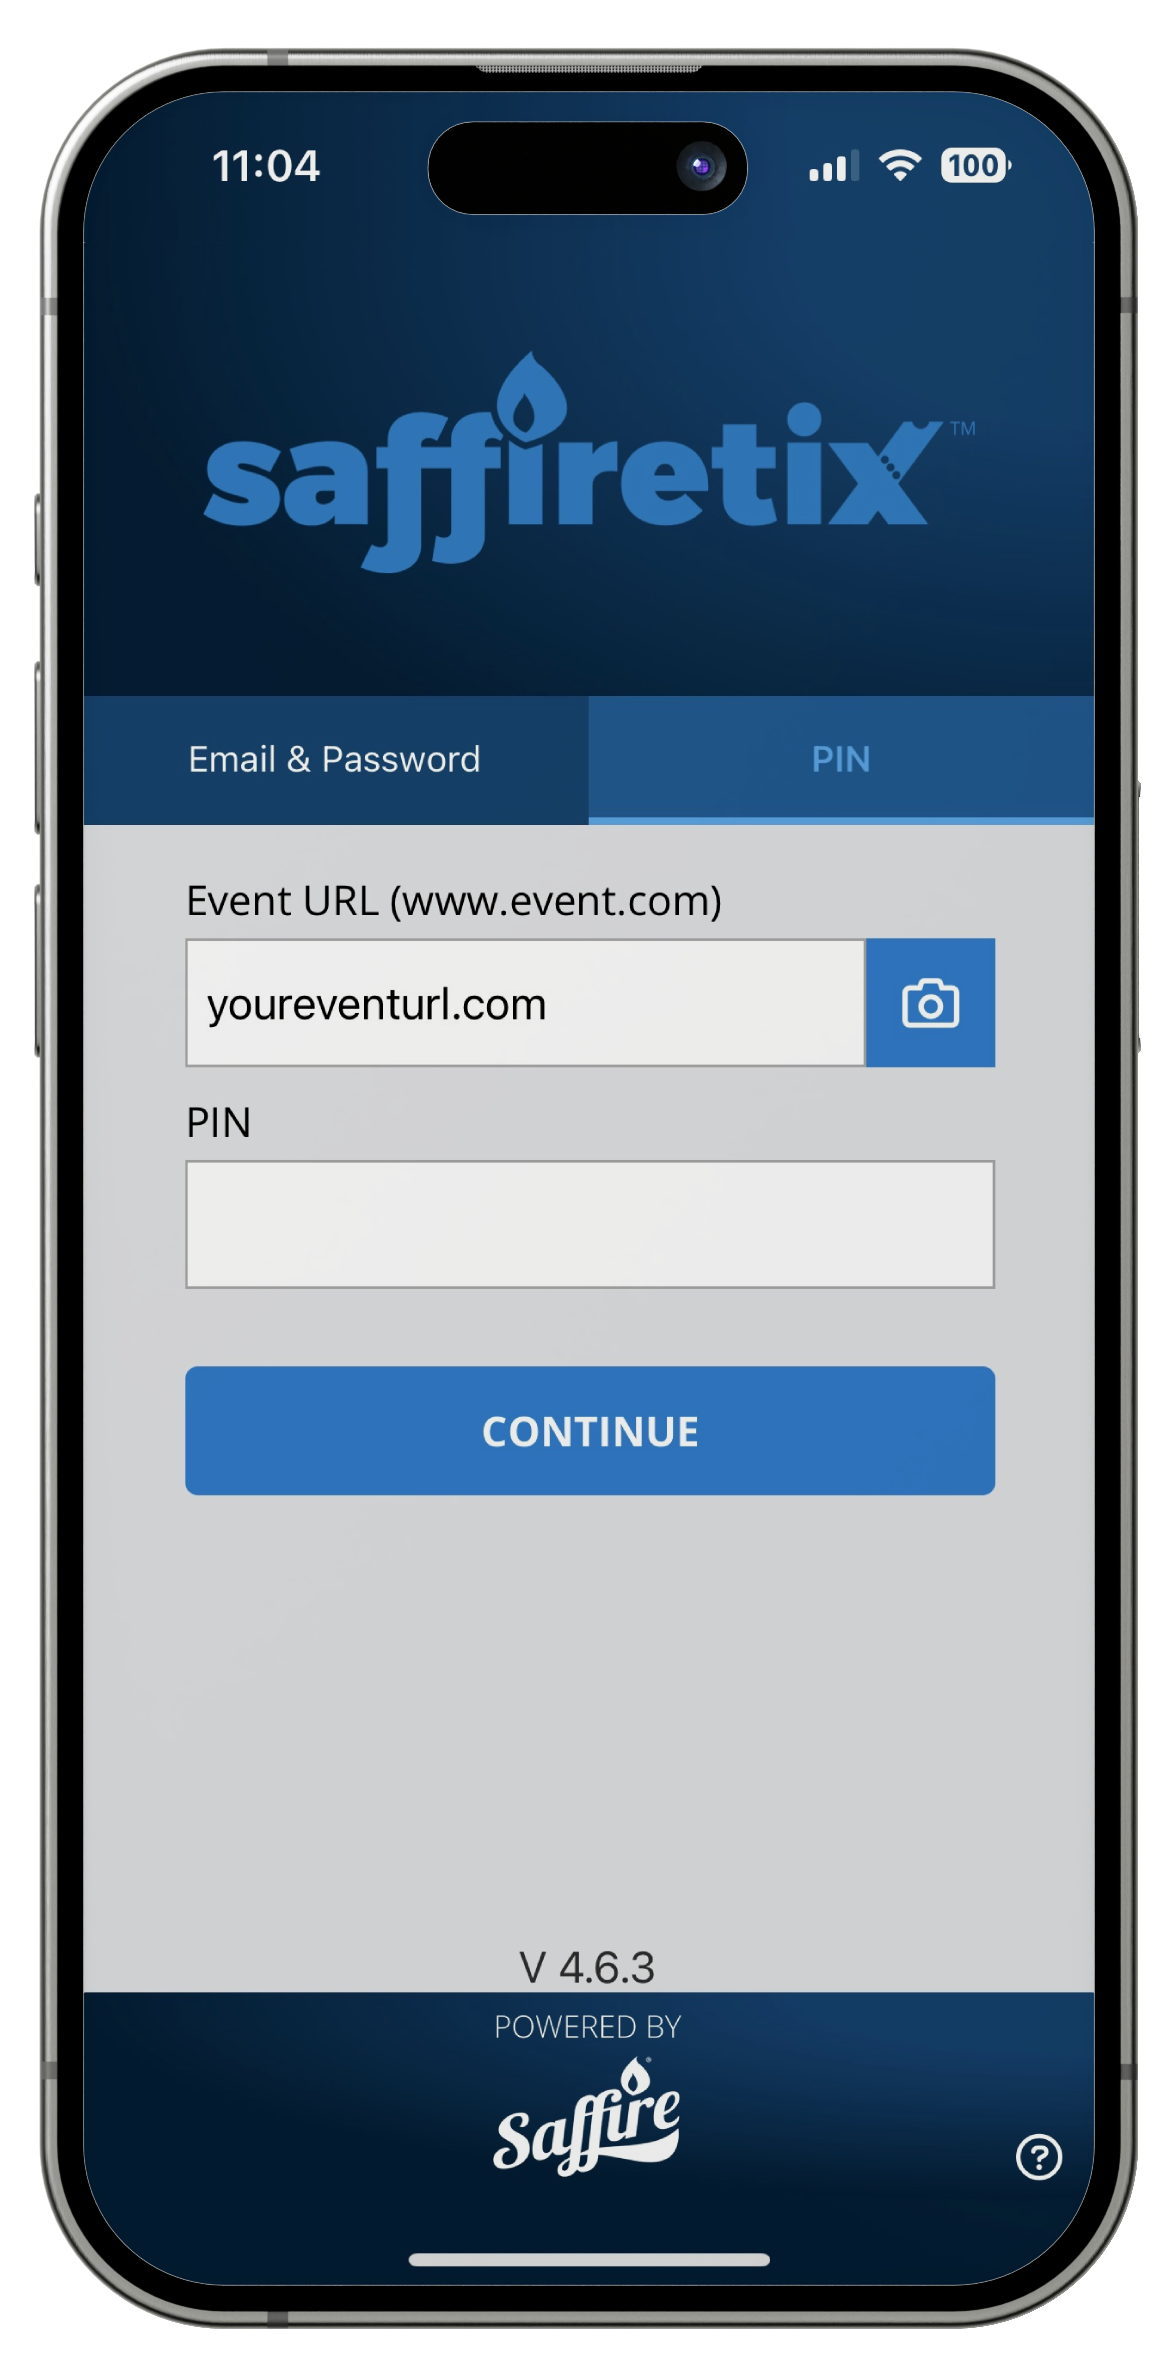
- Tap the camera icon at the right of the Event URL text box.
-
Scan the QR code provided with your equipment shipment. You can find it both on the inside flap of the shipment box, and in the blue event documents folder.

-
If you can't find your event QR code, you can print it out from your Spark account. Navigate to Commerce > SaffireTix > Site QR Code. You can print the code and post it where needed for easy scanning. The code will not allow login without a PIN, and can be shared without causing a security concern.

-
- Make sure the device is connected to the internet for real-time updates and access to event data.


Connecting to a Card Reader
To prepare the Chainway for selling you will need to connect a Dynaflex II Go mobile credit card reader. Please visit the Dynaflex II Go User Guide for help getting ready to sell.
Connecting to a Star (hip) Printer
To print tickets and receipts you will need to connect a Star mobile printer. Please visit the Star Hip Printer User Guide for connection instructions.
Charging and Battery Maintenance
For Devices with No Trigger Attached
The Chainway is equipped with a rechargeable battery to provide extended use during events. Batteries are removable and can be charged via a charging station (upon request).
The USB-C charging port is located on the bottom of the device. Simply plug it in to the provided power adapter to charge a single device. A full charge typically takes about 3 to 4 hours for the Chainway battery. We recommend charging each device overnight so you can start each day with full batteries.
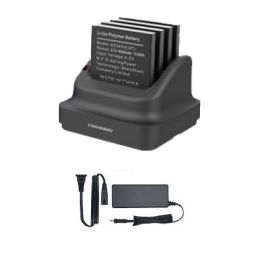
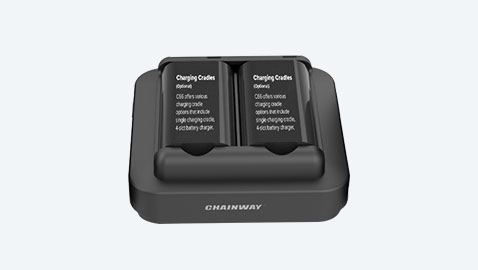
If you have a multi-battery charging station, remove the battery cover by sliding both yellow tabs on the back of the device down. Remove the battery by lifting the black tab and slide the battery into the charger with the metal contacts facing downward. When the battery is charging, the charging station will display a red light. When the light turns green, the battery is fully charged.
For Devices with Trigger Handles Attached
To charge trigger handle batteries while installed in the handle, plug the Chainway device into a power adapter via the USB-C port on the bottom of the scanner. The Chainway battery will charge first, and when it has finished charging, the trigger handle will begin to charge.
- Connect the provided USB charging cable to the device’s charging port.
- Plug the other end into a power source using the provided adapter.
- The battery icon in the top-right corner of the screen will indicate charging progress.
- A full charge typically takes about 3 to 4 hours for the Chainway battery. We recommend charging each device overnight so you can start each day with full batteries.
If you are using a multi-battery trigger handle charging station, remove the battery of the handle by unscrewing the end of the handle. Place the battery into a charging station, being sure to line up the metal contact pins. When the battery is charging, the charging station will display a red light. When the light turns green, the battery is fully charged.
Battery Tips:
- Charge the device before each event to ensure optimal performance.
- Avoid letting the battery run completely out before charging to prolong its lifespan.
General Maintenance and Troubleshooting
Cleaning:
- Use a soft, dry cloth to clean the screen and exterior of the device. Avoid using harsh chemicals or exposing the device to water.
Device Freezing:
- If the device becomes unresponsive, press and hold the power button for approximately 10 seconds to force a restart.
For further help, check out these other guides:
Using Chainways you Have Purchased
When you purchase Chainway/Zebra devices through Saffire, the devices are shipped directly to you from our supplier. Unlike Saffire rental equipment, purchased devices are not preconfigured or enrolled in our mobile device management (MDM) system. As a result, a few setup steps are required before the devices are ready for use.
After receiving your devices, complete the following:
- Insert your SIM card to enable mobile data connectivity on the device.
- Create or log into a Google account on each device. You may use the same Google account across multiple devices if desired.
- Download the SaffireTix app from the Google Play Store. We also recommend installing the Ookla Speedtest app to help test network connectivity.
While Saffire Support is always available to assist, purchased devices do not provide the same level of visibility or remote access as Saffire rental devices. This means our ability to troubleshoot certain issues may be more limited compared to rental hardware.
If you have questions during setup, you are welcome to contact Support for guidance.
|
Scanning Tickets with SaffireTix App on Chainway or Zebra Handheld Scanner |
|
|