
Connecting to Mobile Data
IN THIS ARTICLE
How Multi-Carrier SIMs Work
Common Connection Situations
Quick Troubleshooting Steps
Device Settings to Check
Testing Network Speeds
Sim Card Replacement Guide
RELATED ARTICLES
Our rental devices use multi-carrier SIM cards (sometimes called Smart SIMs) to connect to mobile data networks. These are designed to automatically connect to the best available network at your event without you needing to choose a carrier in advance.
How Multi-Carrier SIMs Work
- Devices will always try T-Mobile first, then switch to AT&T, and finally Verizon if needed.
- They don't always connect to the strongest available network — they only switch carriers if the current signal becomes too weak.
- This helps prevent dropped connections while still giving you the best available coverage.
Common Connection Situations
- Weak connection: The device is online but slow because coverage in the area is poor. The SIM may switch to a better carrier, but if all carriers are weak, performance may be limited.
- If WiFi is available, consider turning off Mobile Data and only using WiFi. This will allow the device to focus on one connection.
- If WiFi is available (and the device has been logged on to your WiFi) but weak, turning off WiFi may allow the device to focus on only Mobile Data, resulting in a more consistent connection.
- No connection: If the device shows no service at all, use the troubleshooting steps below.
Quick Troubleshooting Steps
If a device won’t connect right away:
- Wait a few minutes – Often, after powering on, the SIM just needs a little time to finish connecting.
- Toggle Airplane Mode – Turn it on for 10 seconds, then off. This forces the device to make a fresh connection.
- Reboot the device – Power it off, remove the battery, reinstall the battery, then power back on.
- Reseat the SIM card – If comfortable, remove and reinsert the SIM to reset its connection.
After trying each step, give the device about 5 minutes to reconnect before moving on.
Device Settings to Check
Most of the time, our devices are pre-configured and ready to go. If you need to double-check:
On Android (Chainway/Zebra):
- Exit Kiosk Mode by closing any open apps, then tapping 10 times on the blue Saffire homescreen. Enter the password T1xxxxxxxxxx (that's 10 x's)
- Go to Settings → Network and confirm these are on:
- Use SIM
- Mobile data
- Roaming
- IMS Roaming (where visible)
- Automatic network selection
- Once data is working, re-enter Kiosk Mode
- Swipe up from the bottom of the screen and select the Hexnode app. Select Activate.
Note: You may need to open Advanced Settings to see all of these options on some devices
On iPhone:
- Go to Settings → Cellular
- Make sure Cellular Data is turned on
- If needed, you can manually choose a carrier under Network Selection
Testing Network Speed with Speedtest App
When selling tickets at a live event, a reliable internet connection is more important than a fast one. If you're experiencing slow transactions or connectivity issues, use the Speedtest by Ookla app to evaluate your connection.
Running a Speed Test
- Connect to the mobile network you will use for ticket sales.
-
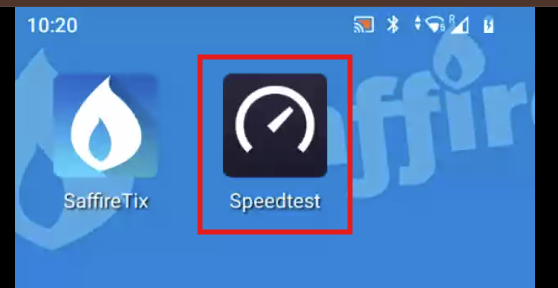
Open the Speedtest by Ookla app.
-
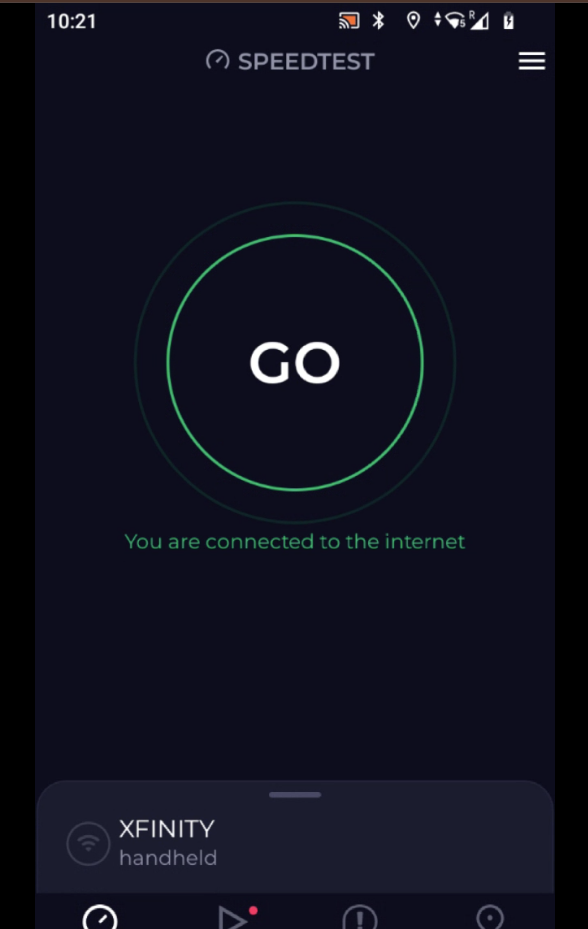
Tap Go.
-
On the results page, scroll down and select Detailed Results.
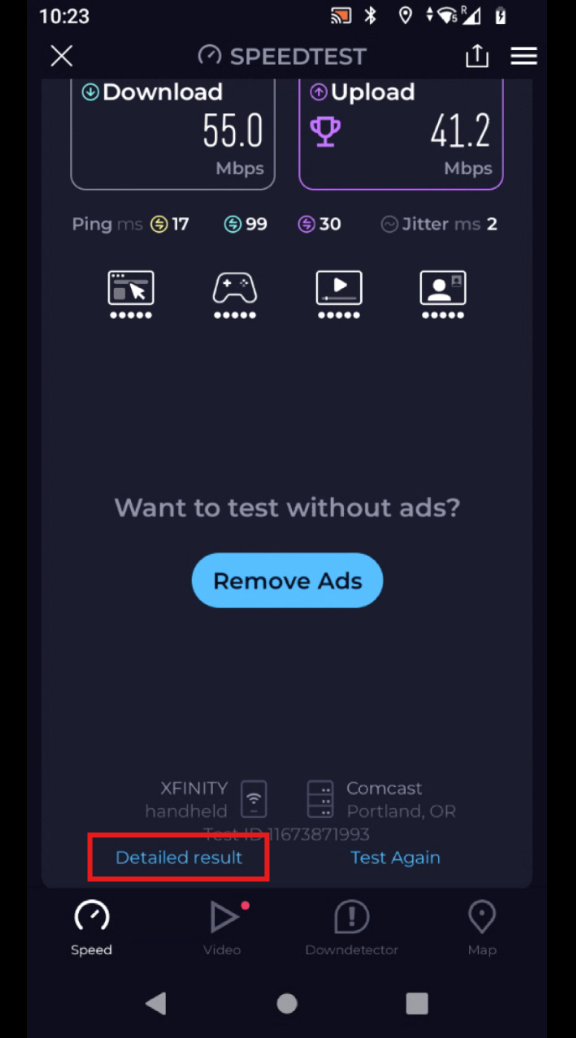
- Record the results for:
- Download Speed
- Upload Speed
- Ping (Latency)
- Jitter
-
Packet Loss
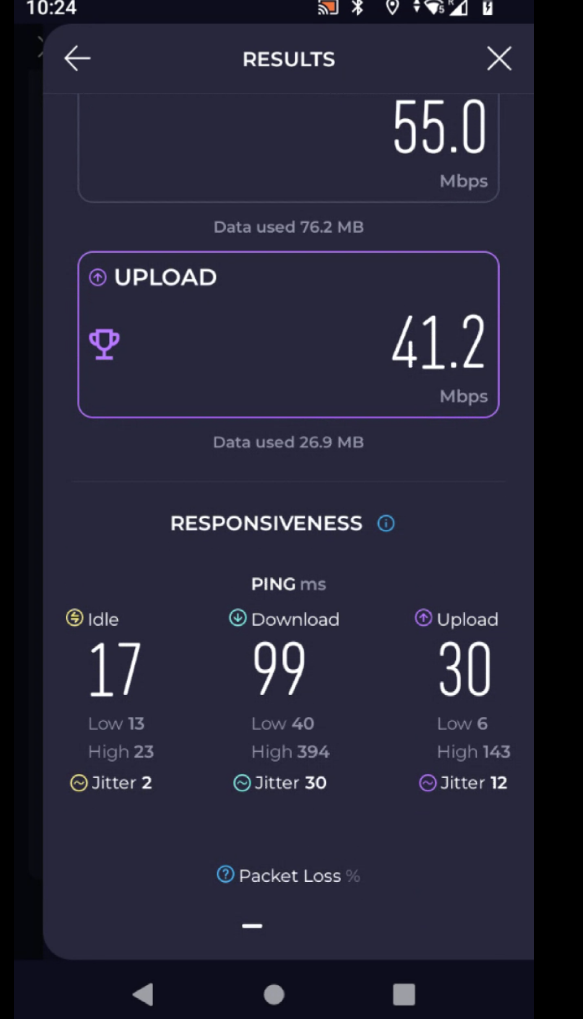


Understanding the Results
If you are not connected to any Wifi or mobile data network, the result will be a message Error: Test failed to complete. Please check your connection and try again. This indicates that there is no mobile or Wifi connection on the device at all. See Quick Troubleshooting Steps and Device Settings to Check above for initial troubleshooting.
Download Speed
How quickly your device receives data.
Recommended: 5 Mbps or higher
Upload Speed
How quickly your device sends data, including ticket and payment transactions.
Recommended: 3 Mbps or higher
Ping (Latency)
The time it takes data to travel between your device and a server.
Recommended: Under 150 ms
Jitter
Measures the consistency of the connection. High jitter can cause delays, timeouts, and intermittent issues.
Recommended: Under 30 ms
Packet Loss
Measures how much data fails to reach its destination. Packet loss can cause transaction failures even when speeds appear high.
Recommended: Under 1%
Recommended Minimum Connection
| Metric | Recommended Value |
|---|---|
| Download Speed | 5+ Mbps |
| Upload Speed | 3+ Mbps |
| Ping | Under 150 ms |
| Jitter | Under 30 ms |
| Packet Loss | Under 1% |
Important
When troubleshooting ticket sales or payment issues, connection quality matters more than speed. A connection with low packet loss, low jitter, and reasonable latency will typically perform better than a faster connection with poor stability.
If you contact support regarding connectivity concerns, please provide a screenshot of your Speedtest results along with the event location, mobile carrier, and a description of the issue.
SIM Card Replacement Guide
If you have been sent new SIM cards by a Saffire employee, please follow these guides for instructions on replacing the SIM card.
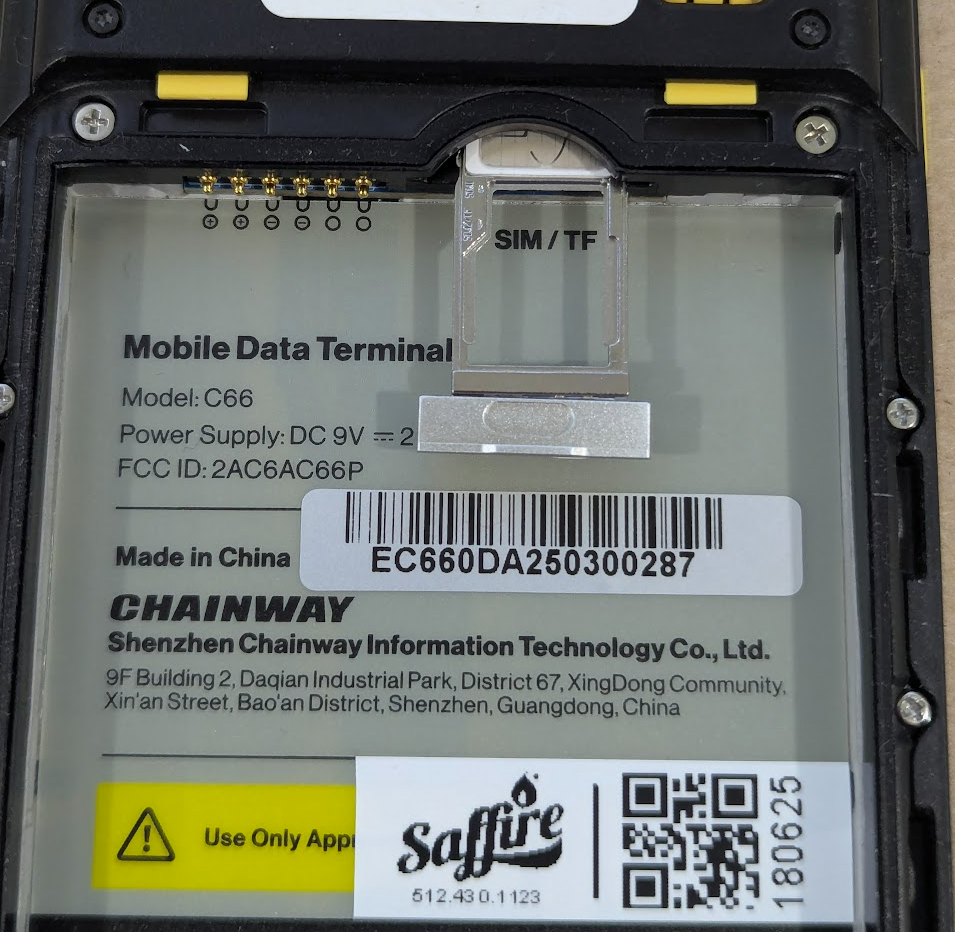
Chainway Scanner
Open the device back and remove the battery. Slide out the silver tray near the top of the battery compartment and replace the SIM card in the slot, metal side up.
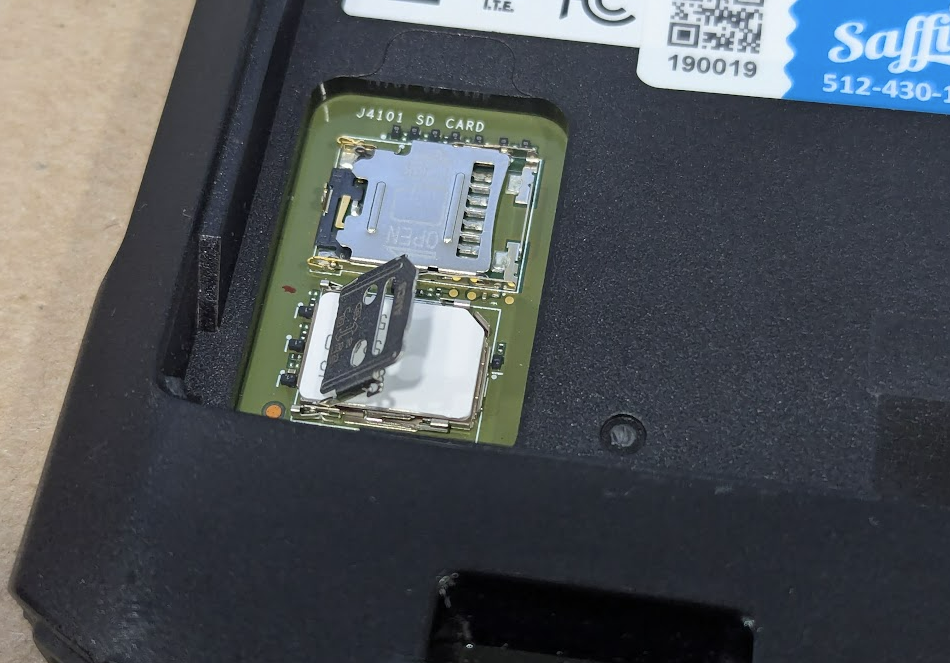
Zebra Scanner
Remove the battery pack and locate the SIM compartment at the bottom left. Press down on the cover and slide it to the left, then lift up the right side. Replace the SIM then place the cover back down and slide it right to lock into place.
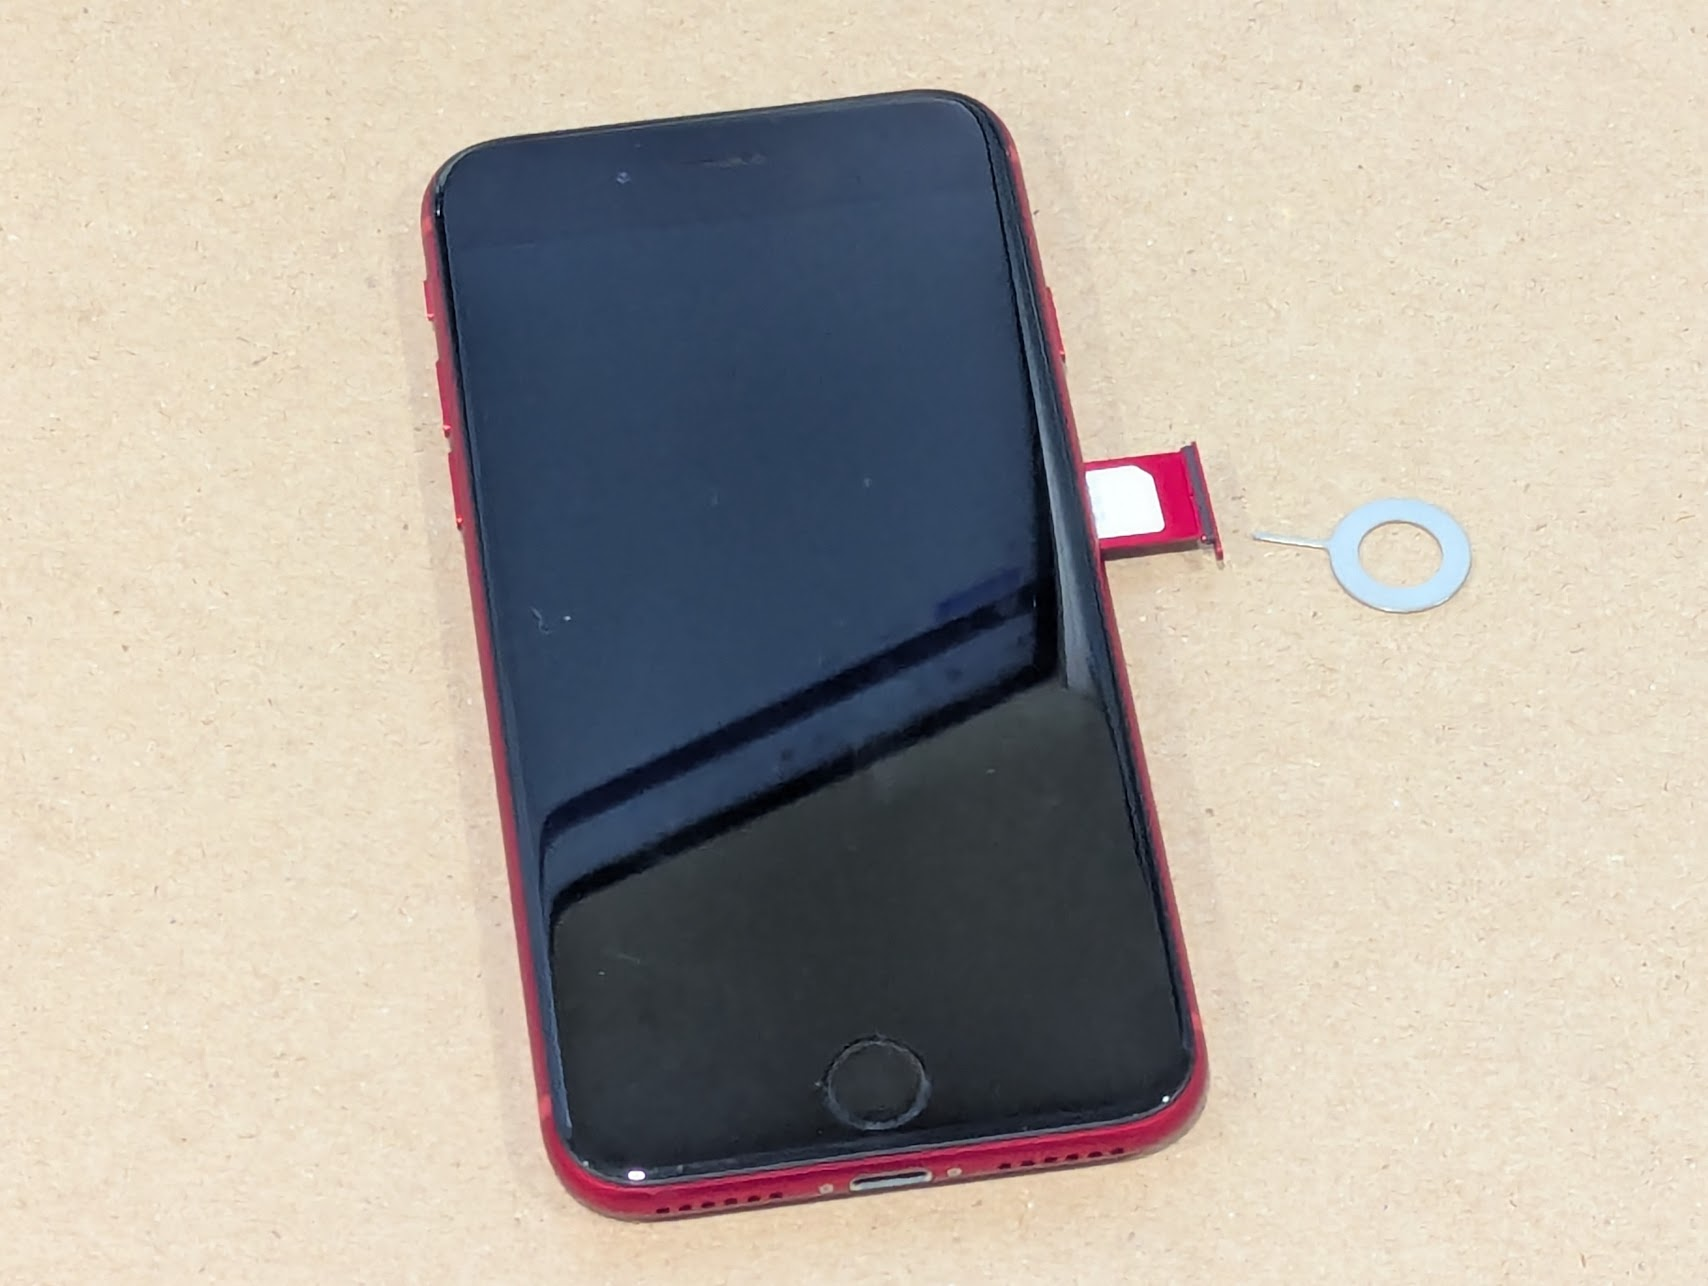
IPhone Scanner
Using a SIM removal pin, open the sim slot on the right side of the device. Replace the SIM, metal side down, and reinsert tray.
When to Contact Us
If your device still won’t connect after these steps, please reach out to our Support Team using the orange help button below. Provide the device ID and a description of what you see on the screen, and we’ll get you back online as quickly as possible.