
Laptop Kit Setup
IN THIS ARTICLE
Laptop Kit Components
Unboxing and Powering On
Printer Setup
Opening Saffire Web Box Office
Loading Printer Stock
Setting up your Credit Card Reader
Running a Test Transaction
RELATED ARTICLES
Box Office 101
Microcom 520 User Guide
Microcom 485TC User Guide
Dynaflex PED Credit Card Reader Guide
Saffire's Box Office interface allows you to sell tickets in person from any Internet-connected desktop or laptop computer, accepting cash or credit cards. With a compatible printer, you can print tickets on demand.
Laptop Kit Components
Your laptop will contain one of the following credit card readers:
|
Dynaflex II Pin Entry Device (PED) |
Dynaflex II Go |
|---|---|
|
|
|


Your laptop kit will contain one of the following printers:
|
Microcom 520 |
Microcom 485TC |
Boca Lemur X |
|---|---|---|
|
|
|
|
|
Driver name: SNBC BTP-L520 BPLE |
Driver name: Microcom 485TC W (300dpi Cutter) |
Driver name: Boca BIDI FGL 26/46 200 DPI |


Unboxing and Powering On
- Unbox your Laptop kit and confirm that all components are present:
- Laptop
- Credit card reader
- Printer
- Mouse
- (Ticket stock ordered separately)
- Connect USB card reader, USB printer, and mouse to laptop
- Connect the charging cable for both the printer and laptop
- Power on laptop and printer
Printer Setup
-
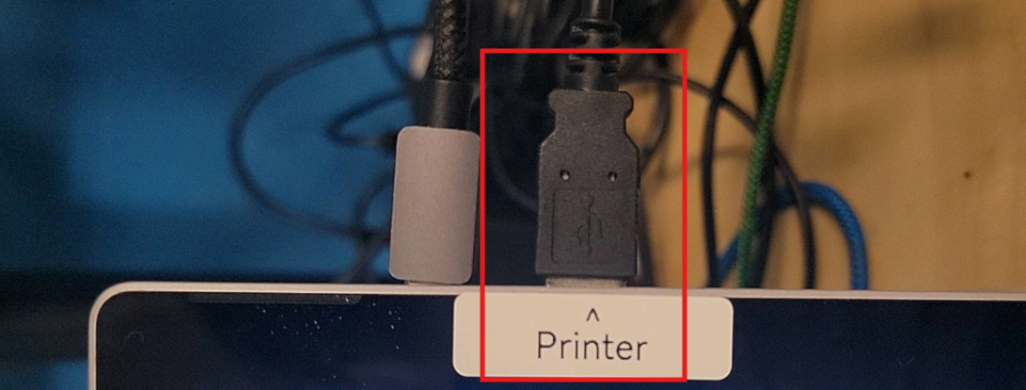
Plug the green printer cable into the USB port marked Printer. Do not use a USB hub on this port, please plug the printer cable directly into the laptop.
-
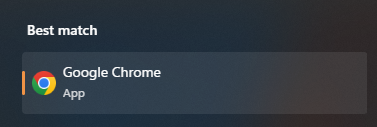
On the Box Office laptop, make sure all Chrome browsers are closed, then use the Windows taskbar search to open a Chrome browser with the rainbow icon.
- Right click and select Print or type CTRL-P to open a print preview window.
- Select the printer you would like to print to, using the above table as a guide to what printer you have.
- You may need to click See More to find the right option. (If the printer dialogue does not appear, please close all Chrome windows, open this PDF from the desktop again, and retry.)
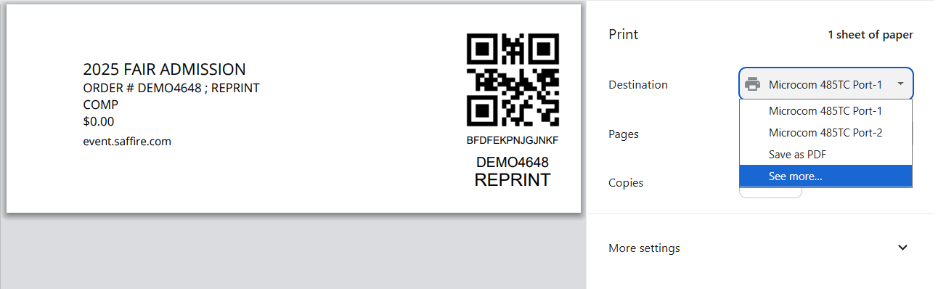
- When you click Print, the test print should be successful. If it is not, confirm that the correct printer is selected. If you need further assistance, check out our printers guide to find troubleshooting steps for the different printer models.
- Once the test print is successful, close this browser, and open the yellow box office browser from the link on your desktop.
- Follow the guide below to log in and run a test transaction
Opening Saffire Web Box Office
- Power on and log into Windows
- Password: 1234 or 12321(check for a PIN label below the laptop keyboard)
- Connect to preferred Wi-Fi
-
Select the yellow Chrome link from the desktop to open the Box Office Configuration guide.
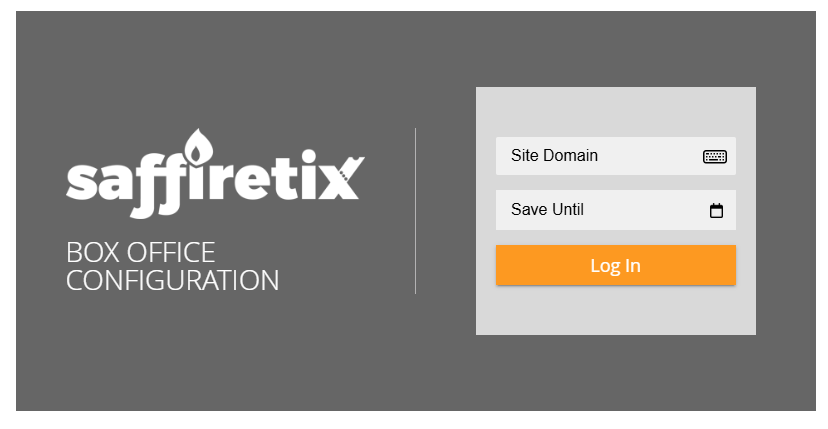
- Enter your event URL in the Site Domain box, leaving out the https:// and being sure to use the correct subdomain. For example, if your site is https://tickets.myevent.com you would enter tickets.myevent.com. If your site is https://www.myevent.com you would enter www.myevent.com.
- Enter a date after your event is complete. This PC will save your URL until this date has passed.
-
Once entered, you will be directed to the Box Office login page
- Use your SaffireTix email and password to log in.
- Run a test transaction (comping a ticket works here) and test to make sure the tickets print correctly.
- If you have any issues, consult the troubleshooting guide for your printer:
Loading Printer Stock
Be sure to load your printer stock in the correct direction to ensure proper printing. Detailed instructions can be found in the user guide for your printer model:
Setting up your credit card reader
Make sure your card reader is properly connected to the laptop kit. Find more info in the Dynaflex PED Credit Card Reader Guide.
Running a Test Transaction
It is important to run a test transaction before the start of your event to test both the printer and the card reader connected to the laptop.
Box Office 101 - Learn how to login and run a test transaction