
Kiosk Onsite Setup
IN THIS ARTICLE
Components
Step-by-Step Setup
Deployment
Returning your Kiosk
Troubleshooting
RELATED ARTICLES
Kiosk Spark Setup
PC Setup
Installing printer driver
Magensa / Dynaflex II PED
SaffireTix self-service kiosks are shipped to your event as a Kiosk Kit, containing (almost) everything you need. Your credit card reader and ticket stock will be received separately, as they vary from event to event depending on the payment gateway in use.
If you do not find the information you are looking for in this article, please use the orange "Help" button on the bottom right corner of the page to use our Chat, email us at support@saffire.com, or call 512-430-1123.
|
|
|


Unpack, inventory, and setup first thing - if necessary, report missing or broken parts to your Saffire Ticketing Account Manager.
Components
Kiosk Kits consist of five key components
-
Computer

SaffireTix Computer -
Monitor

Touch Screen Monitor -
Lemur X printer with ticket catch (Ticket stock shipped separately). If your kiosks use our Microcom 485TC printer, plug the green cable into the back of Microcom printer as instructed for the Boca printer, and visit Microrom 485TC User Guide for further setup instructions.

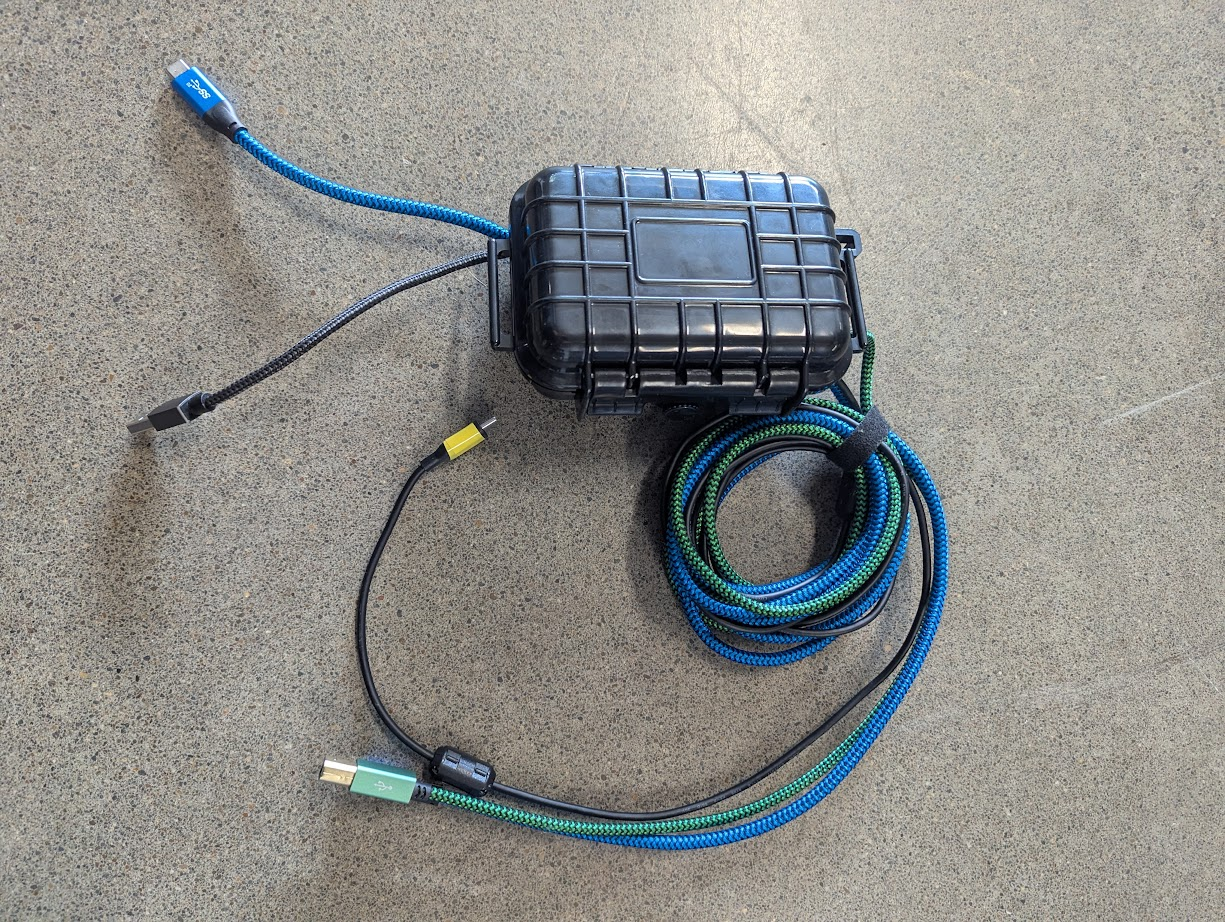
Boca Lemur X Printer - Kiosk hub - All the kiosk cables you need, plugged into a single usb hub to make your setup simple and quick. Each cable is color coded to the component it should be plugged into.
- White or black (short) -> Computer
- Blue (short end) -> Computer
- Blue (long end) -> Monitor
- Green -> Printer
-
Yellow or black (long) -> Card reader
-
Credit card reader - Your card reader may have shipped separately from your kiosk case, so if you do not see it in your case check your other shipment boxes. Kiosks are designed to use the Dynaflex II PED (PIN Entry Device), which offers swipe, chip, and tap to pay options.

Dynaflex II PED


Step-by-Step Setup
- Open the Kiosk Kit and check the "Parts List" on provided insert. Note that your credit card reader and ticket stock will arrive separately as they vary between events. Please check at this time for damaged equipment and contact your ticketing account manager to ensure replacement equipment is sent.
- Hook up the computer, monitor, and printer to the power cube and plug the cube in.
-
Plug the white cable of the hub kit into the white computer port and the short blue cable into the blue computer port.

-
Plug the blue cable of the hub into the blue touch screen monitor port.

-
Plug the green cable of the hub into the printer port.

-
Plug the yellow cable of the hub into the yellow credit card reader port.

- Power up your kiosk computer and log in to Windows using the password “12321”.
- Load your ticket stock into the printer. The 'tear stub' end of the ticket feeds into the printer, with the 'SaffireTix' logo on the side farther from the feed mechanism.
-
Double-click the orange Kiosk web browser icon to open the SaffireTix box office app. Sign in using your Spark credentials and enter the end date of your event. This PC will save your event’s credentials until that date and then reset so you do not have to repeat this whole process again until that date. We recommend you set this date to at least one day past the final date of your event run.


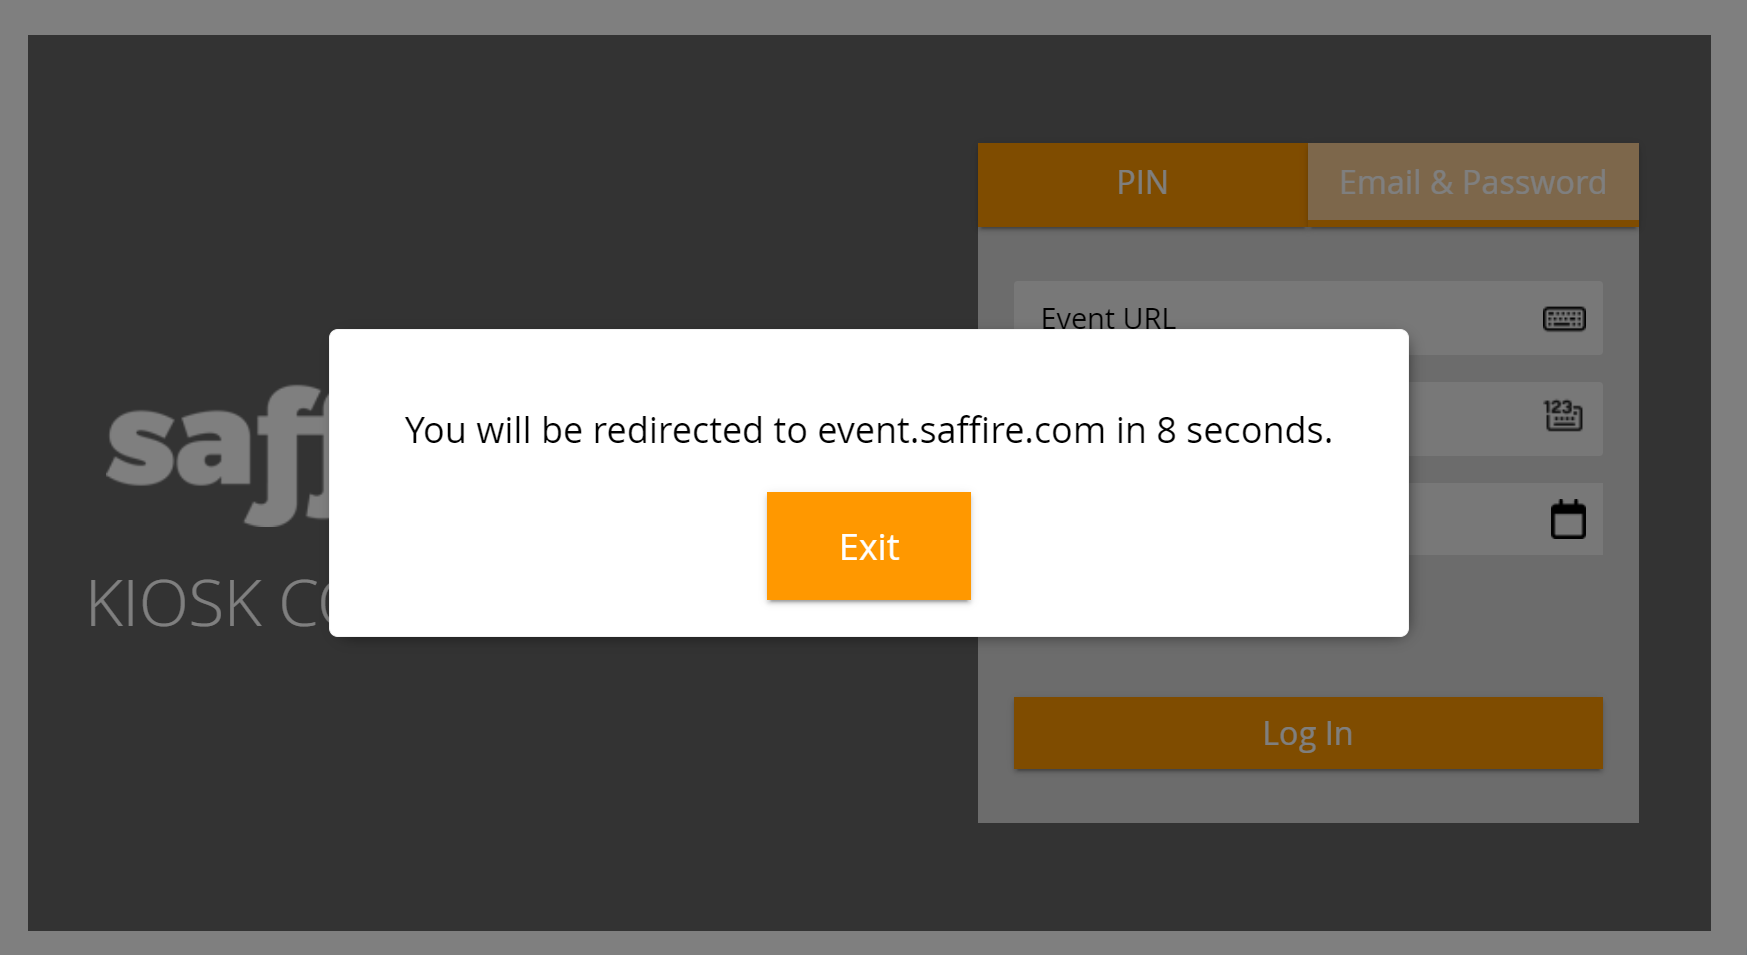
If for some reason, you set this date incorrectly or you receive a kiosk from a different event, you will be given a countdown of 10 seconds that you can override the redirect to the saved event credentials. By clicking Exit on this countdown, you'll be able to reset the Event URL, Email/Password (or PIN), and Save Until date.
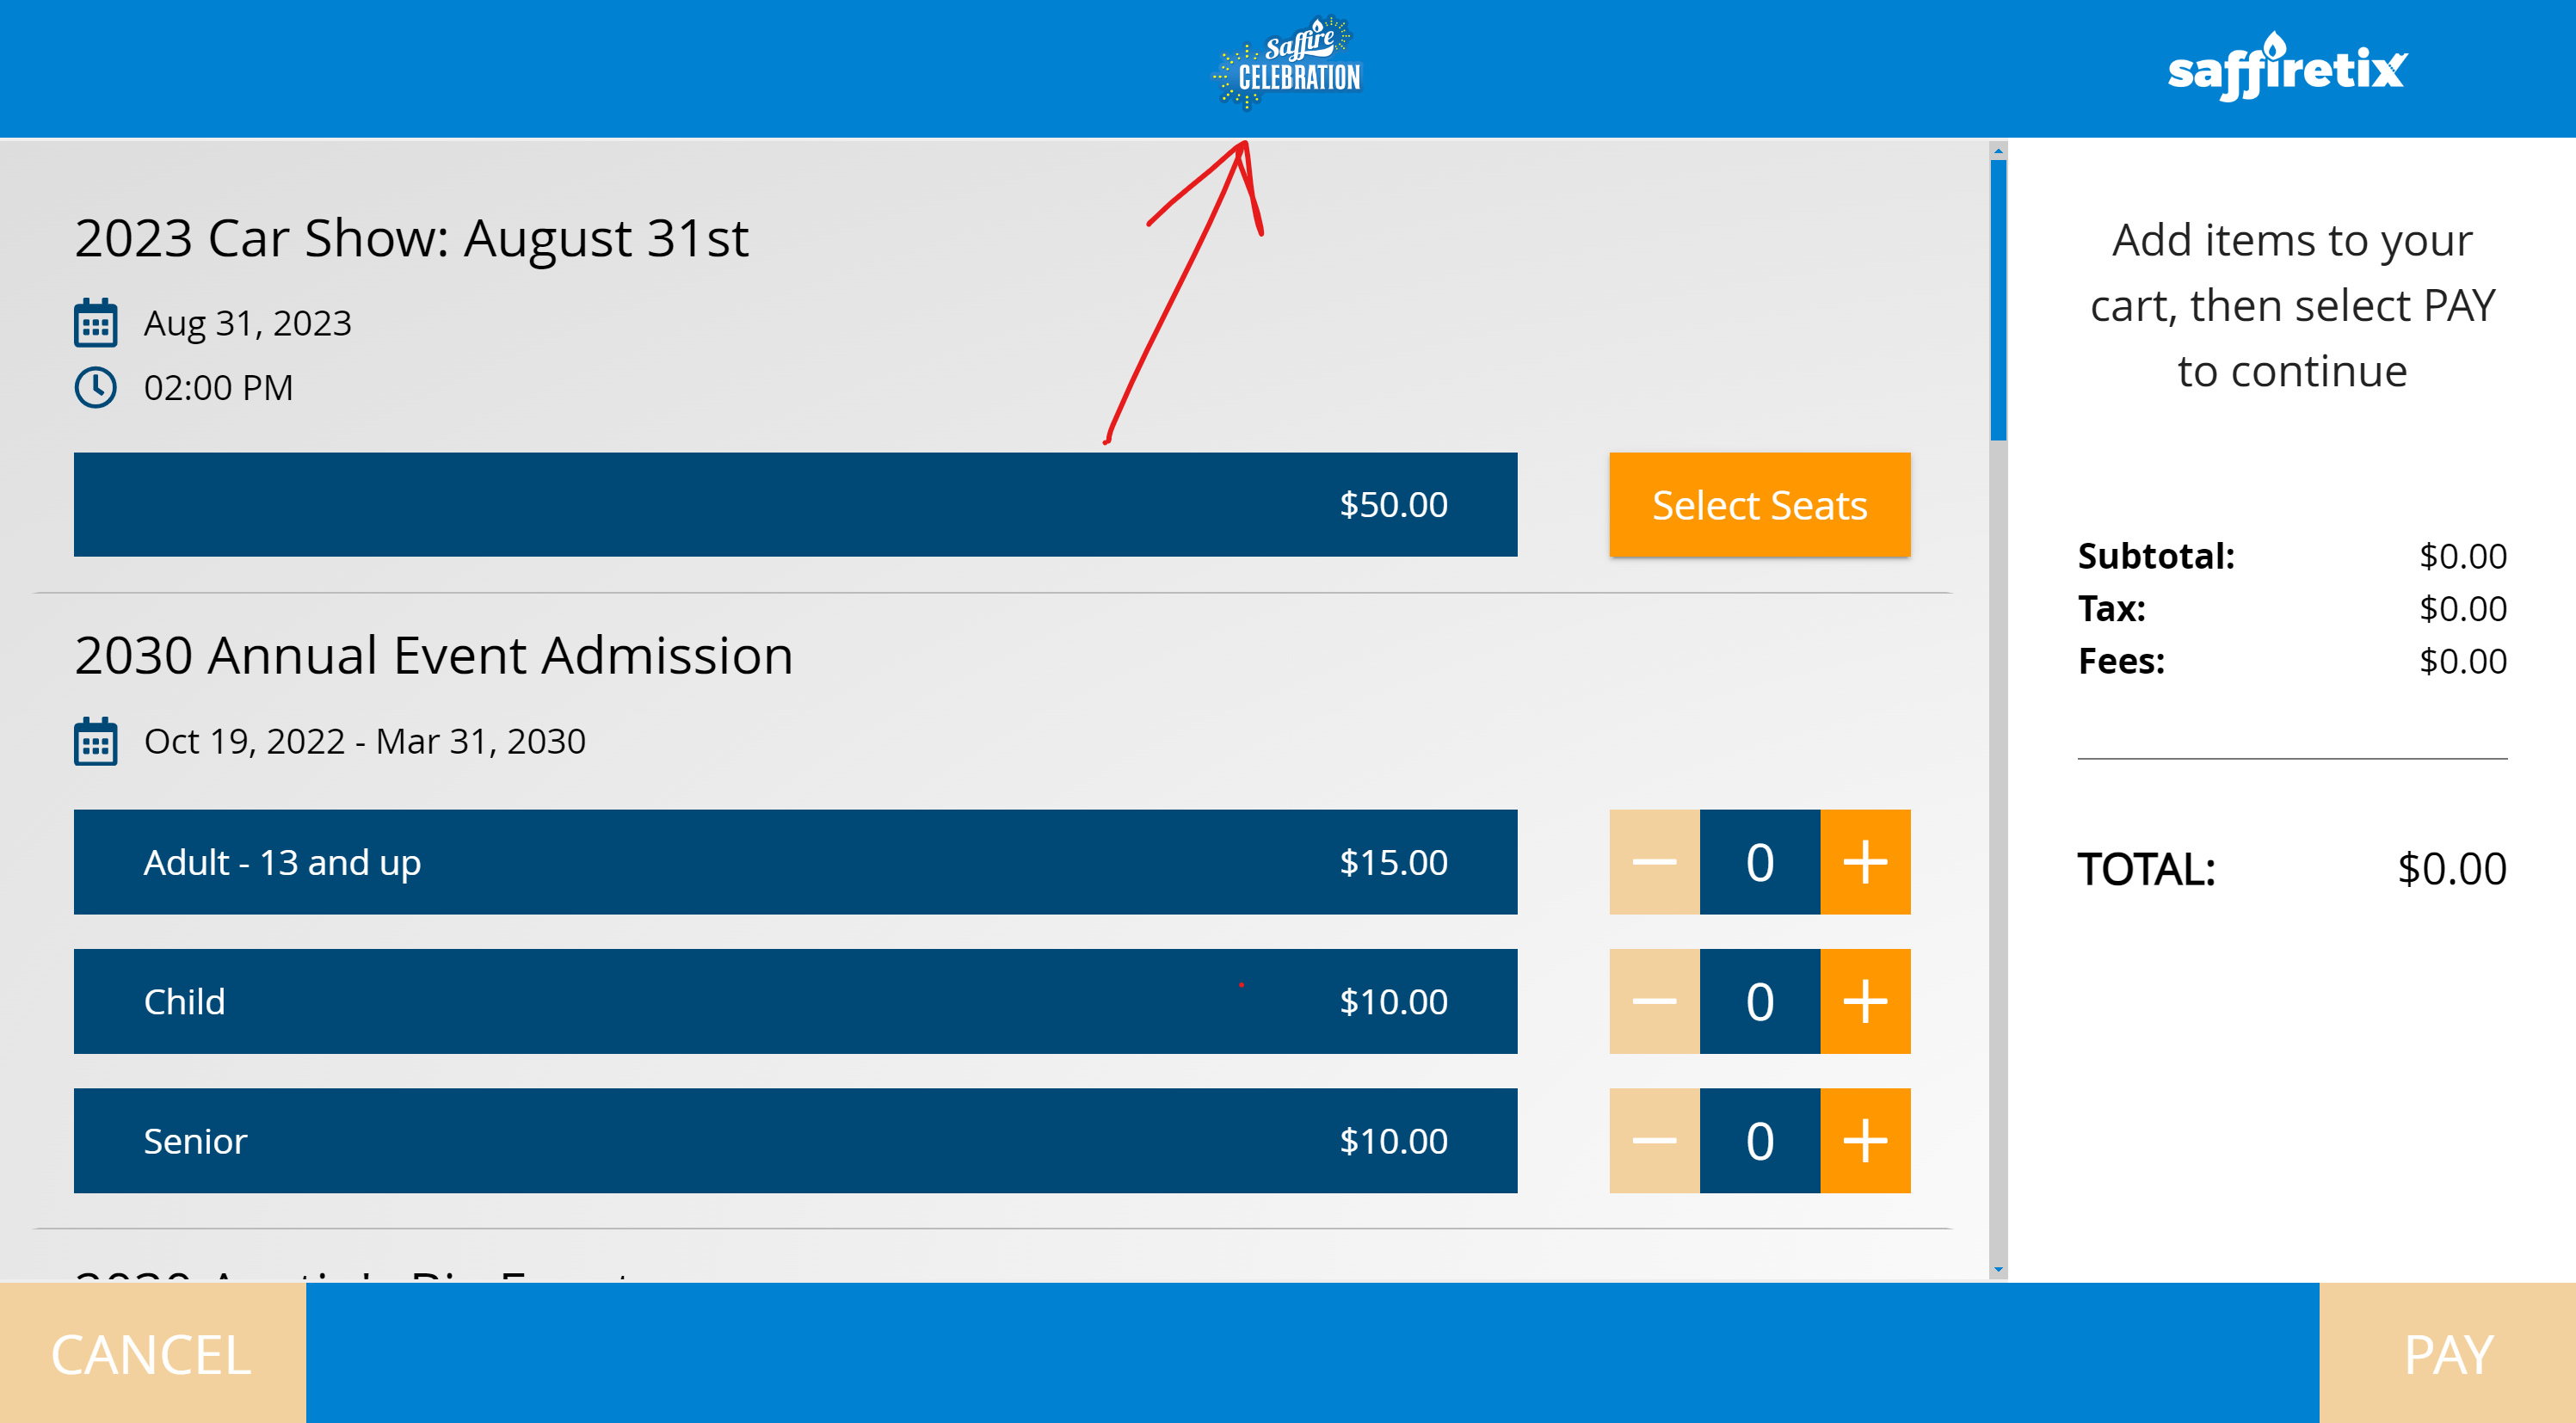
Your Organization Logo to the top center of the kiosk so that you will have a clear visual indication that your kiosk is logged in to the correct site. If you see something that is not your site logo, then you will want to log out and click the Exit button to reset the login credentials.
- Perform system tests:
- Ensure all the products are visible that should be. If some products are not showing, check the products configuration in Spark. You may need to adjust the Box Office sellable dates or locations.
- Run a test credit card transaction to test payment and printer are successful.
- Tap on the screen 10 times on the top left corner to access kiosk settings to change the template, location, or to logout.
Parts that are not working as expected should be reported, then left for troubleshooting last. Avoid getting stuck dealing with a problem device until you know everything else is working.
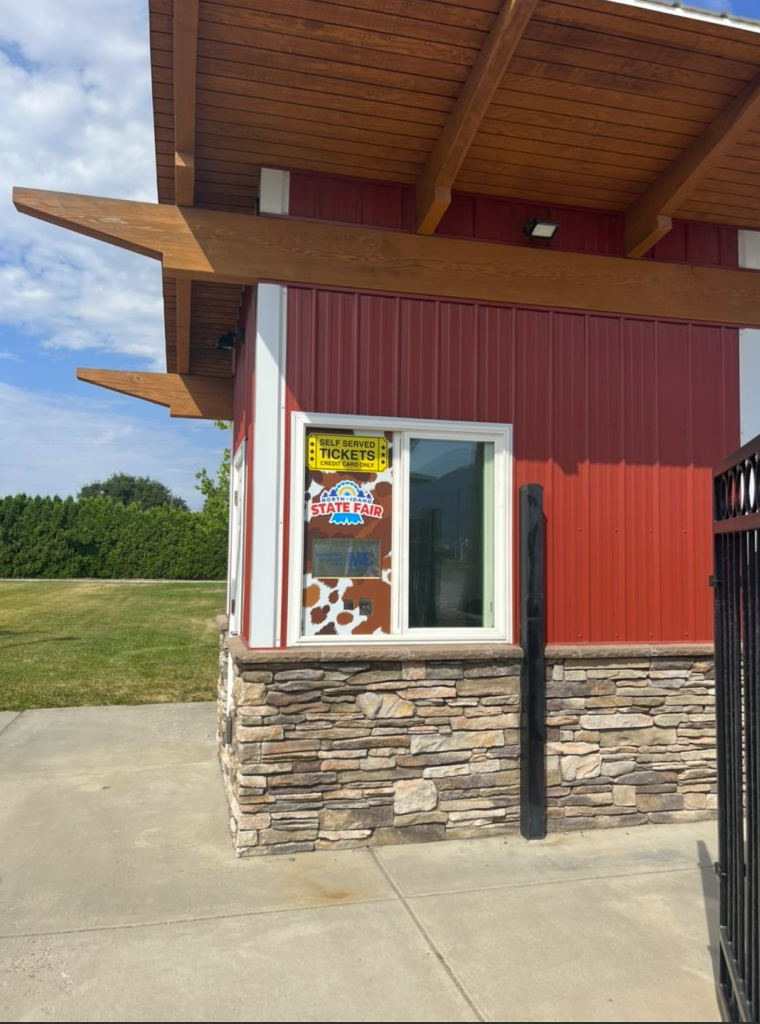
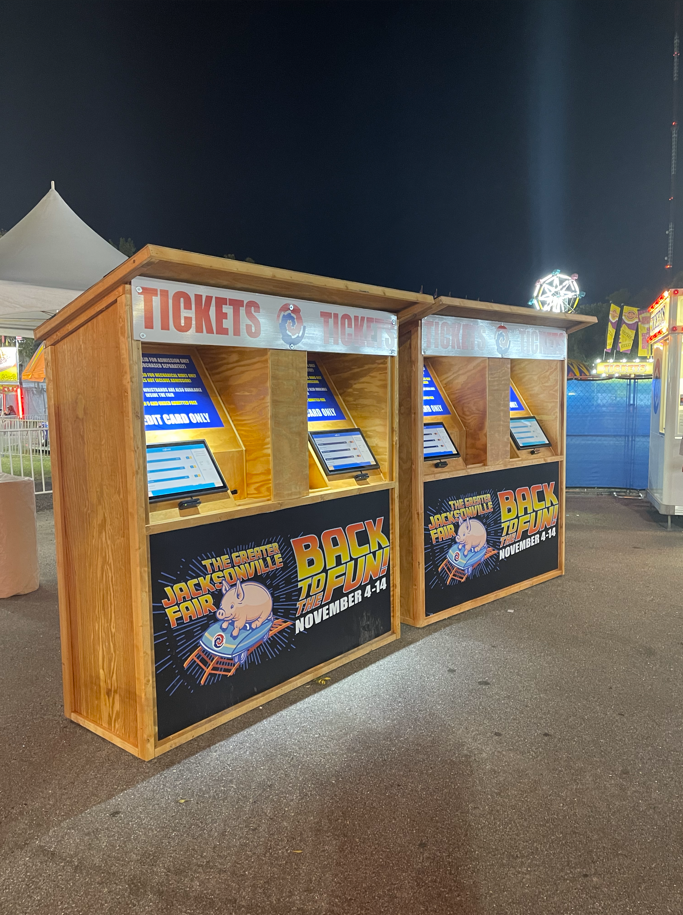
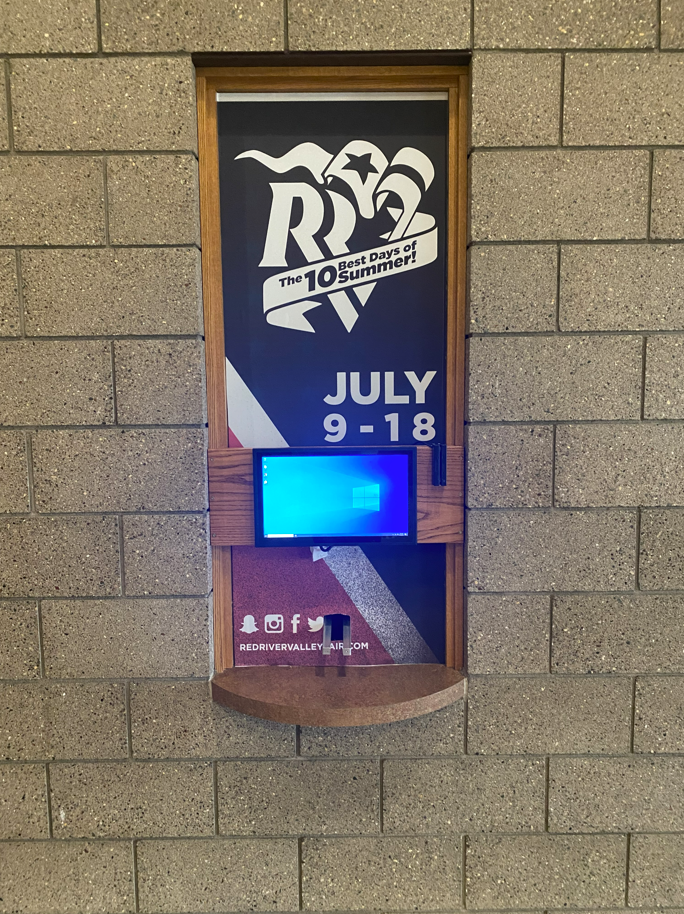
Deployment
After successfully testing each kiosk, install the components into the determined housing. This may require tools. Discuss mounting options with your Ticketing Account Manager, or visit our Kiosk Enclosure Building Guide for more information.
|
|
|
|
Returning your Kiosk
Your SaffireTix kiosk is shipped to you in a customized case to prevent any components from arriving at your event damaged. Carefully repacking the kiosk components as they arrived will help ensure they make it home to our warehouse safely.
To repack your kiosk components:
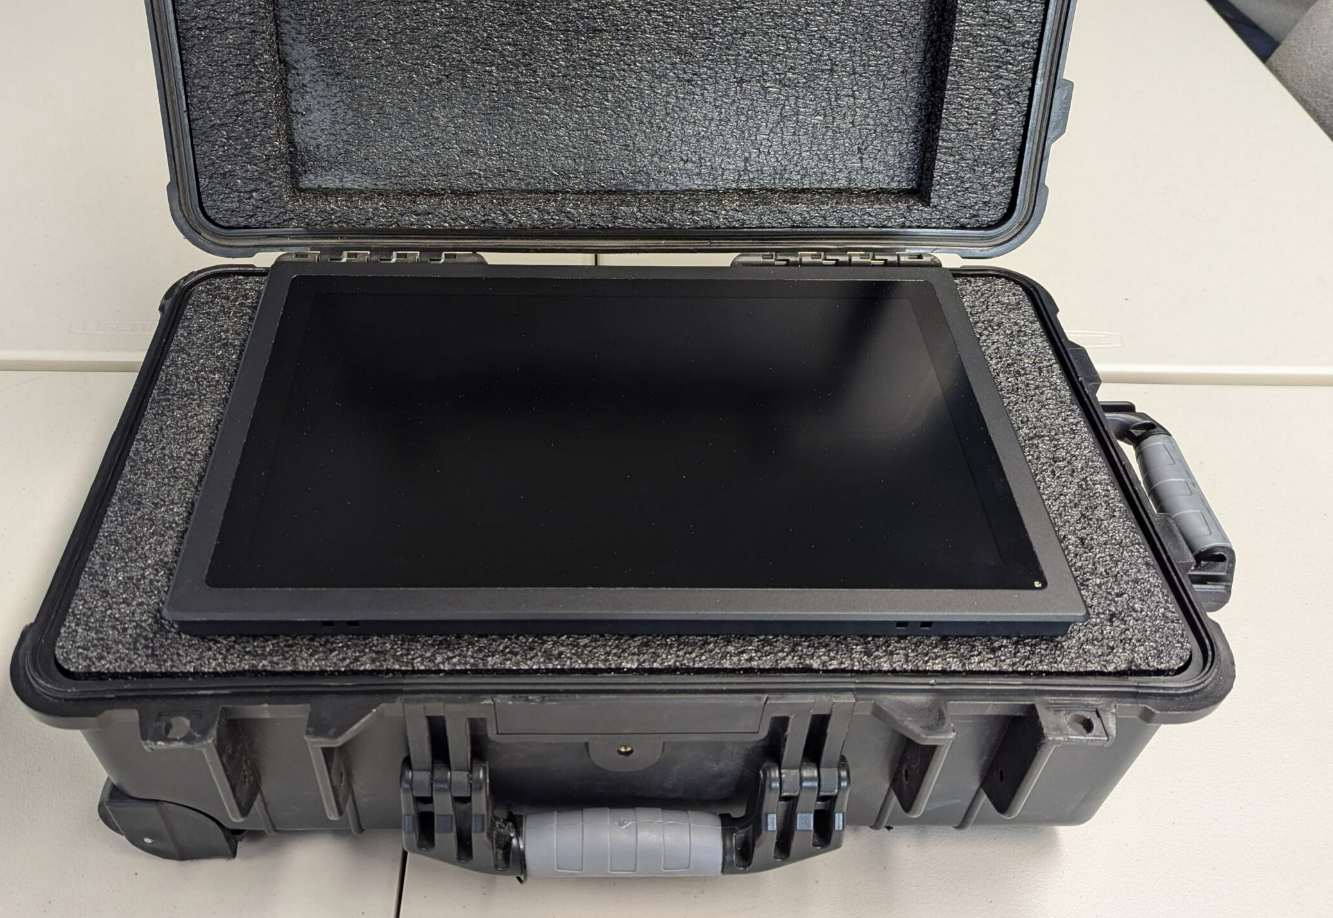
- Set aside the touchscreen monitor and flat foam pad to be packed last.
- Place the rectangular foam pad on top of the packed equipment.
-
Slide your Boca printer into the square cutout on the left-hand side of the case.
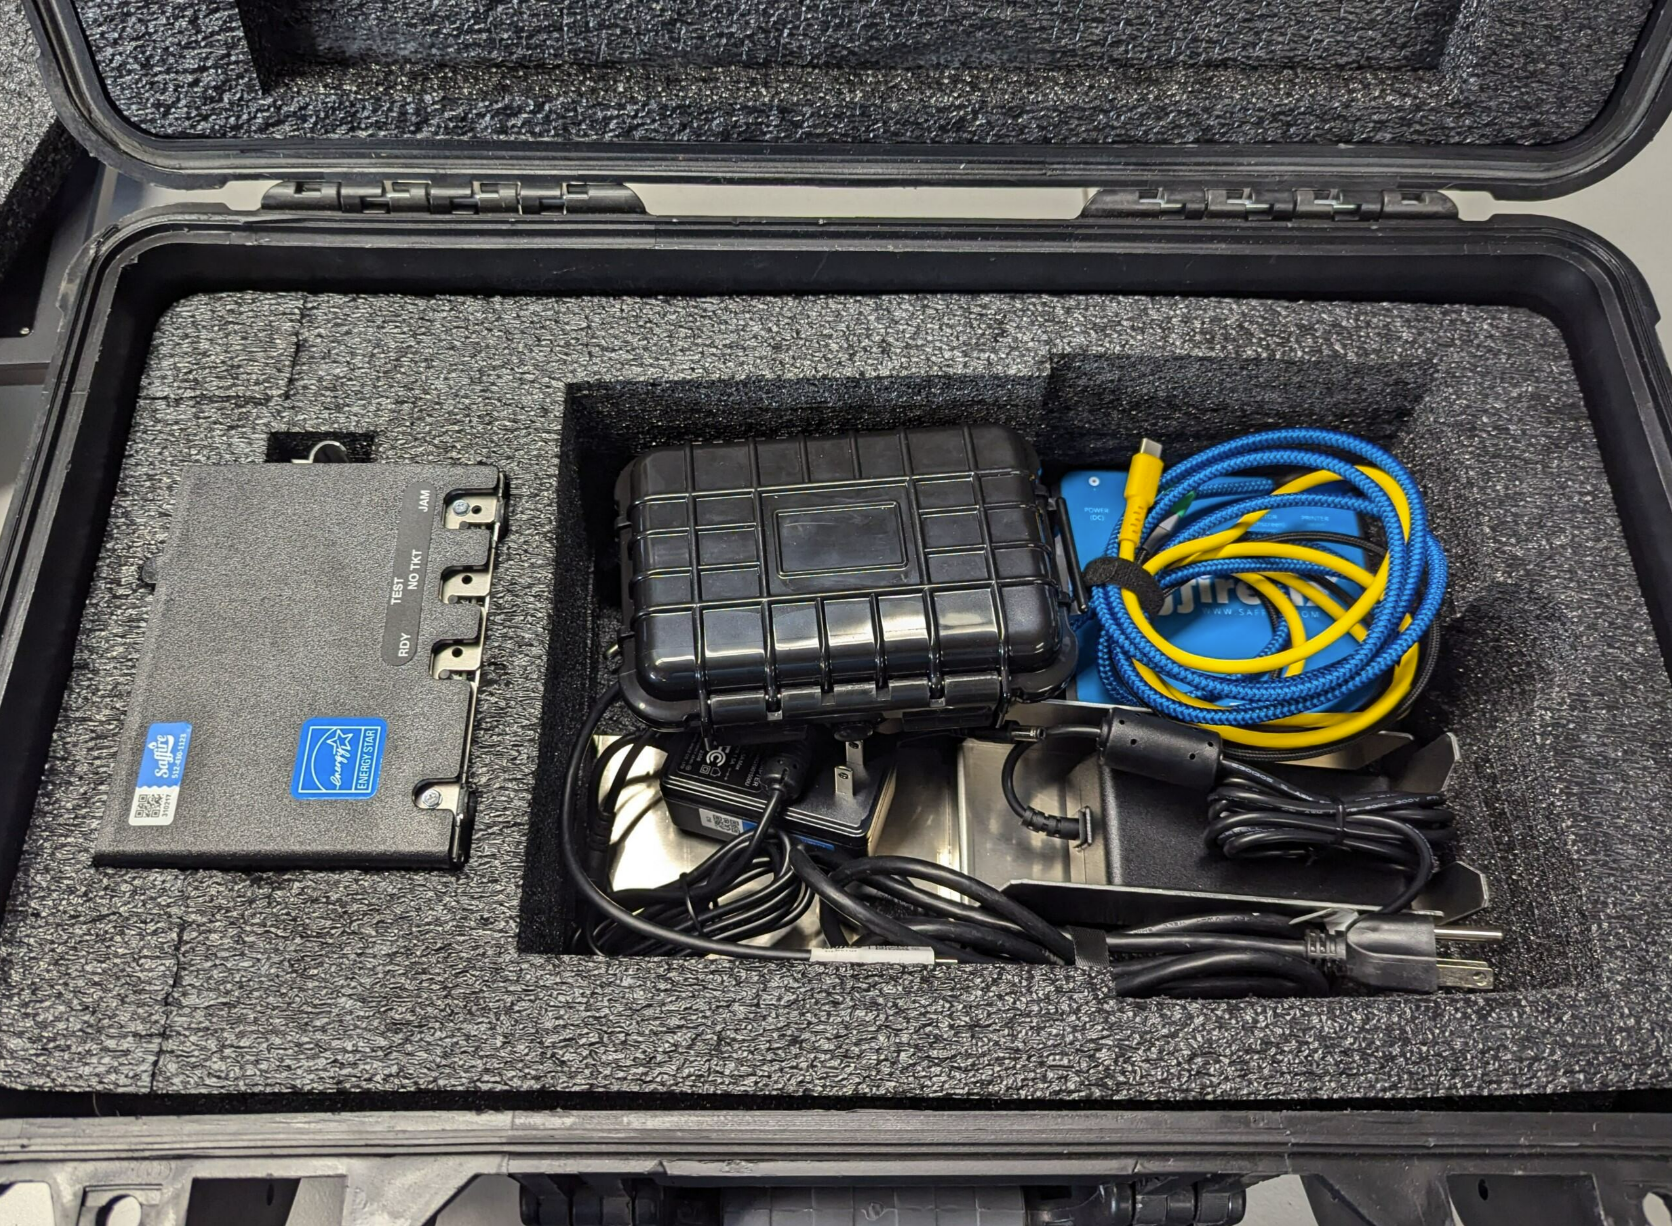
- Carefully pack the remaining components into the larger compartment on the right-hand side of the case.
-
Set the touchscreen monitor, screen up, into the case so that the monitor mounting plate fits into the pad cutout. Packing the monitor with the screen facing upwards prevents other components from bumping/scratching the screen.
- Close the lid firmly, checking to be sure no cords are being pinched in the closing case.
-
Secure the case with Zip Ties beside each clasp before shipping.

-
Affix your Fedex return labels to the case on the flat side opposite the carrying handle. Be sure to cover any previous label(s) to prevent mis-scanned shipments.

- Have your kiosk picked up with Fedex Scheduled Pickup or bring to a Fedex location to ship.


For more information, visit our Equipment Return Guide or our article on Equipment Prep and Packing Up.
Troubleshooting
- Products are not visible in kiosk menu.
- Box office sellable dates or locations may be incorrect in Spark. Check this under the Sales tab of each product.
- Ticket printed but cut off or off center.
- The ticket stock may be in backwards. Try inserting the stock the opposite way.
- Ink looks faded.
- The print head may need to be firmly pressed down until it clunks.
- Printer doesn't print at all.
- The printer driver may not be installed.