
Microcom 485T / 485TC Driver Installation
IN THIS ARTICLE
Download/Install the Printer Driver
Printer Settings in Windows
Uninstall/Reinstall Printer Driver
Setting the Default Printer
Loading Ticket Stock
RELATED ARTICLES
Microcom 485TC User Guide
Microcom 485TC Troubleshooting
Kiosk Onsite Setup
Magensa / Dynaflex II PED
Download/Install the Printer Driver
✨ Do not plug in the printer until the driver has been installed and the instructions prompt you to plug in and turn on the printer ✨
Before you install any printer drivers, be sure to remove any old drivers/ticket printers from your computer. This will prevent the drivers from conflicting with each other and causing print errors.
- Download the file at: http://saffire.com/485tc (copy and paste into a new tab in your browser to begin download)
- You may see a notice in your downloader that the file can't be downloaded securely. Click on the three-dot menu at the dop of this window and select Keep.
-
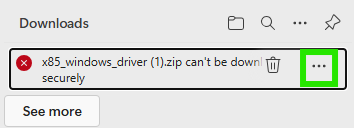
- After the download has completed, open File Manager to the Downloads folder. Right click on the x85_windows_driver file and select extract all.
- Open the extracted folder and then the Drivers folder.
- Double click to run the file Setup-2.0.0.90.exe
- Follow the prompts to complete the setup.
- Select 485TC W (300dpi) cutter or 485T W (300dpi) cutter from the dropdown list according to the model you have. You most likely have the 485TC, however if you are not sure check the front of the printer to see the model number.
- When prompted, plug in and turn on the printer.

Printer Settings in Windows
- Open Control Panel, View devices and printers
- Right click on the Microcom 485TC and select: Printing Preferences

- Select the Paper tab
- Change the Rotation to 270°
- Click Apply
- Click OK

Uninstall/Reinstall Printer Driver
During some troubleshooting sessions, you may be instructed to uninstall and reinstall the printer driver.
- Open Printers & Scanners in Windows settings.
- Select the Microcom 485TC from the list.
- Click on remove at the top right of the window.
- Before reinstalling a printer driver, you should also check to make sure there are no other duplicate printer instances. Remove all other Microcom printer instances before proceeding with reinstallation.
- Plug the printer back in.
- Repeat the instructions above to reinstall the driver (the latest driver should always be downloaded using the instructions above).
Setting the Chrome Default Printer
If the Microcom 485TC is not set as the default printer in Chrome Browser, the printer will act like it is successfully printing your tickets, but nothing will print. This may happen if the last event your rental computer was at used a different printer than what you are setting up. To ensure this is set up correctly:
- Close all instances of the Chrome browser.
-
Search for Chrome in Windows Taskbar. Open the multi-colored Chrome program icon, not the yellow Kiosk or Box Office shortcut.
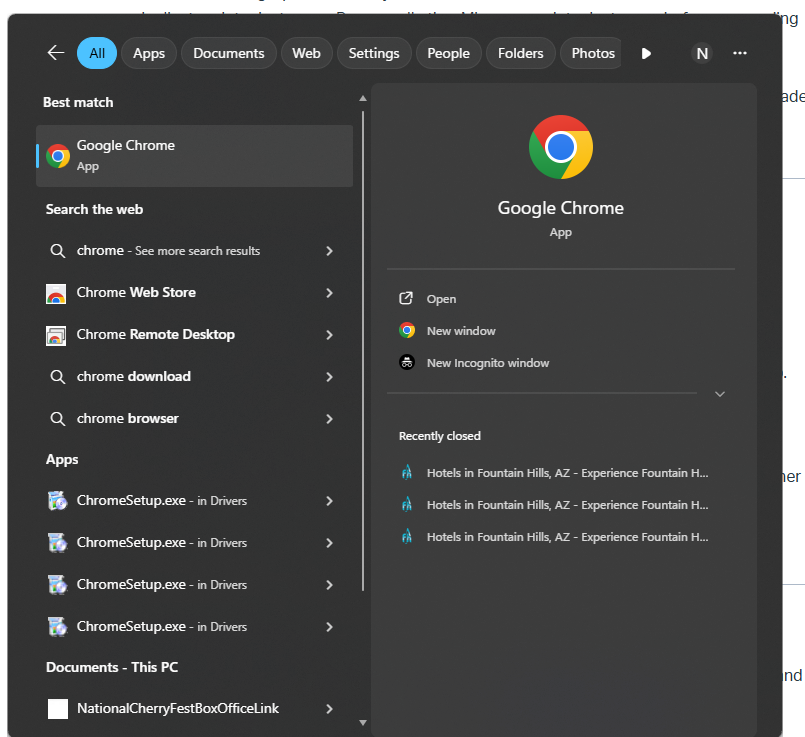
- Open Google Chrome using the regular browser not the Kiosk or Box Office shortcut we setup.
- Go to the ticketing portal you want to test print from.
- Login and hit Escape (if using a kiosk with no keyboard, tap 10 times in the upper left corner of the screen.
- Click Test Print Button.
- When Printer popup appears select for the browser to print from the Microcom 485TC printer, Leave all other settings as they are.
- Test Print a ticket.
- If the ticket prints successfully, you can close this Chrome browser, and open the yellow desktop shortcut to access your kiosk or box office page. Run a test print again from this portal to ensure everything is working correctly.

Loading ticket stock
Feed stock though the green guides in the back and it should automatically recognize the stock and feed it into position. For detailed instructions, visit the Microcom 485TC User Guide.
