Reserved tickets - Sales tab
RELATED ARTICLES
Step 1: Initial Setup
Step 2: General tab
Step 4: Redemption tab
Step 5: Ticket Face tab
Ticket Upsells

This is STEP THREE for creating/editing a reserved seat product in SaffireTix™ (each ticket has an assigned seat #).
-
This feature is not activated on all sites.
Spark location: Commerce > Products > Add Product

- Product Channels: Check the box for each channel you want to be able to sell this ticket through
- Online is available for your customers
- Box Office is available for you and team to sell through www.yourwebsiteURL.com/boxoffice
- Best Available: Here is where you decide if you would like your seats to be selected as best available. We recommend this option as it speeds up the transaction time. It is also the default option.
- Price Types: The sections of your seat map will be displayed alphabetically, click Select Price Types to add different types of prices available for sale for this ticket

- Adult, child, reserved, comp, sponsor, season, etc.
- These can be set up under Commerce > SaffireTix > Price Types


When you have selected the price types for this product you may close these windows and return to the SALES tab of the editor. Then, click on any of the bold Price Type names to add details and prices for each price type.

- Enter a description for that price type - this will show up in the shopping cart (recommended if you have more than one price type, especially if it's based on age)
- Leave the box checked to Show "price type" in the cart if you have MORE than one price type (it's recommended that you UNCHECK this box if you only have one price type)
- Select the channels that this price type may be sold through
- for instance "Comp" or "Sponsor" are most likely price types you only want available at Box Office and not Online to the public
- Once the Channel has been selected the price field will become available, enter the price
- determine if fees need to be added or created for this price type for each channel
- you can add more than one fee to each price type if needed

- In the Advanced options for a specific price type you can enable a custom color when a successful scan is made and limit farther where it can be sold. This is especially important if you are planning to sell Comps through a specific location that you only want certain SaffireTix Users to access.
-
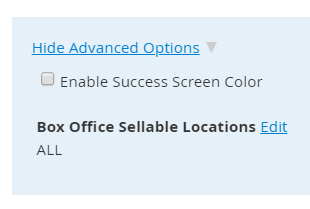
-
You can Enable Success Screen Color and chose your color if you would like it to be different from Green.


- Once it is selected it will look like this.

- Continue to enter in all of your price type details and prices, etc.
-
Click CLOSE & CONTINUE

-
To set up $0.00 Price Types, be sure to ONLY check Box Office as the channel. Here's what your section of Price Types might look like:

- Set the Sellable Dates for each of your channels by selecting the start date (and time if necessary) that these tickets may become available in the respective channel you want to sell them in
- Online
- Check the box for "Include Countdown" if you'd like for the BUY NOW button of this product to count down to Hours, Minutes, Seconds it's available.
-
The default order limit is 8 that is the maximum number of tickets your customer can purchase in one transaction. If you'd like to set your order limit to something other than 8, enter it in the field
Box Office
-
Sellable Locations will be the Box Office locations this product is available at

- Upselling
- Here you can add suggested products as upsells during the Checkout process.
-

-
Choose the product you would like the customer to be offered after they choose their seat. Then click Add Products or Add Products & Close.

-
You will see the product you selected show up on your Sales tab.


For additional details regarding the upsell feature, visit Tickets Upsells
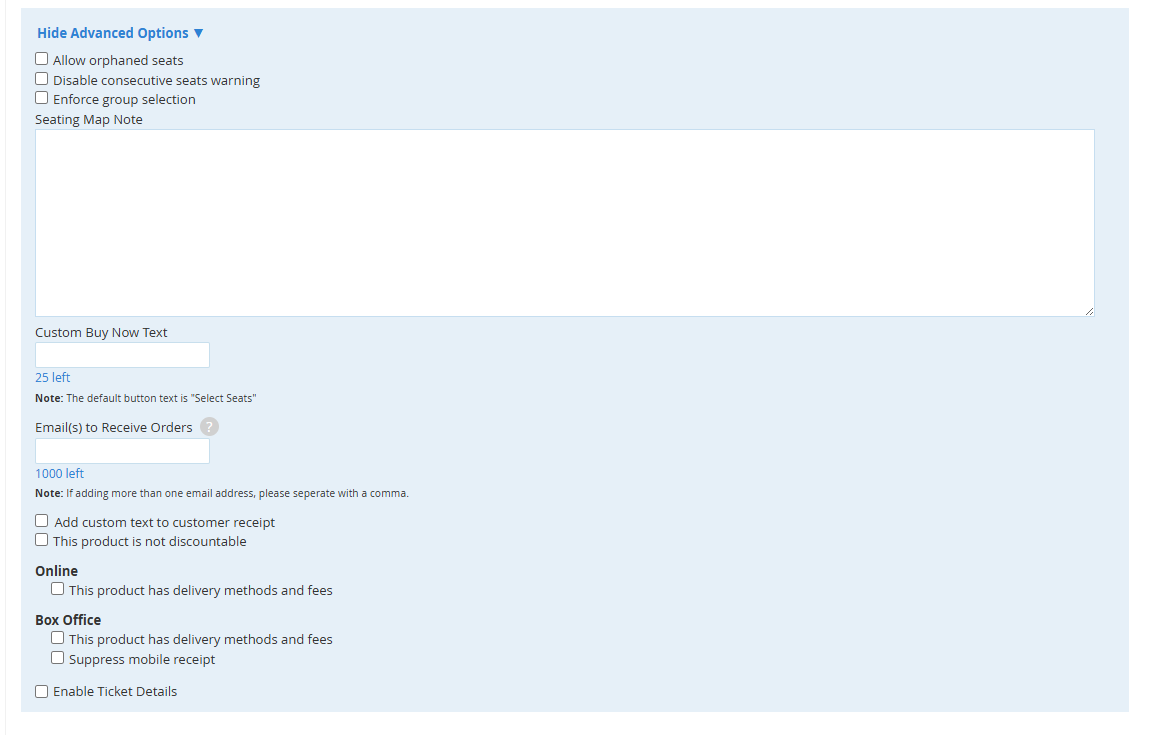
- Show Advanced Options
- Allow orphaned seats lets you decide to allow single seats to be left unpurchased on your seat map - we recommend you leave this feature unchecked until you only have a few seats left or have high demand for single seat purchases.
- Disable consecutive seats warning it's a good idea to check this box if your seats aren't in numerical order. By default, SaffireTix "pick your seat" tool will tell your customers when they have selected seats that are NOT next to each other. However, if you have all odd numbered seats (for example) in a row, this alert would continue to notify your customers their seats aren't "consecutive" which probably won't be true in your case. (it's rare that a customer will need this feature)
- Enforced group selection will make it so that all of the seats in an order have to be next to each other. If a customer wants 8 total tickets, but 4 seats in one section and 4 in a different section they can not do that.
- Custom Buy Now Text will allow you to override the default button text for this ticket sales. Reserved seats by default say "SELECT SEATS" but you can override this if you like
- Add custom text to customer receipt gives you the ability to add disclaimer, thanks, instructions, etc. to the receipt/confirmation email your customers will receive - consider if this information is best on the receipt, or better for the ticket before you add text here!
- This product has shipping methods and fees should almost never be checked with an ticket as you can add the necessary fees to the price type - checking this box will require your customer to select a "delivery method" and require them to enter their shipping address (recommend that you leave this unchecked)
- This product may accept discounts once you have created discount codes, you may edit your products and check this box to say that Discount Codes may be used on this particular product (this checkbox will not appear until you have established at least one discount code)
-
Email(s) to Receive Orders will send a copy of confirmations emails every time this product is sold, to the email address you enter in this field. Please consider if you already have an email address receiving a copy of ALL confirmations in your SETTINGS > SITE SETTINGS > ACCOUNT set up.